Sunday, 10 April 2011

Three LCD Projector Dismantled in Pictures

I've got interested in projectors and modding them to use alternate light sources. I had a broken Sanyo (that I broke even more) so I've taken it apart to see how the light tunnel and LCDs are constructed. Here we go...

Here we have the unit with all the circuit boards and power supplies removed. The LCDs have the orange ribbons attached. The light tunnel runs along the back of the unit. The bulb sits in the bottom left.

Here's a close up of the LCD assembly with the ribbons. The ribbon on the right has been removed correctly. The two others have the connector still attached when they were ripped off the motherboard. Oops.
Onto the light tunnel. Here is the first thing the light from the bulb passes through. A fresnel lens I believe.

After that another fresnel..
.Dunno what this does..
Here it is separated..
Finally in the tunnel.. a standard lens..
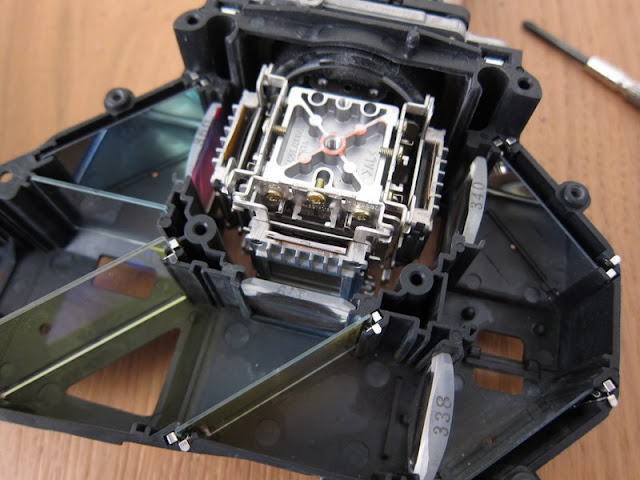
After the tunnel the light is split three ways..
Here's another shot of the three way split ( I cut the ribbons from the LCDs to make it easier to see). The pieces of glass are actually dichroic filters (http://en.wikipedia.org/wiki/Dichroic_filter) that reflect one light colour and let the others through.
Here's a shot of the LCDs taken after removing them and the lens from the unit..
The LCD for the Red channel..
It's possible to see an image through the lens.
With the LCD removed you can see the image on the surface of the prism.
There's more lenses and filters (possibly UV) shown here that are part of the unit..
The LCDs appear to require a lot of cooling. Here's a picture of the three fans and air ducts that are under the LCDs

Next up on this.. I'm going to try and get some white smoke drifting around the tunnel so I can see how the light from a torch is split.


Wednesday, 30 March 2011

DIY Digital Slide Projector

ok.. it's pretty much unusable at the moment but with a cheap LED torch or lamp, a basic digital compact camera and an old SLR lens you can make a projector to project your photos into a wall.

The equipment looks like this...


I 've taken the back off the camera, gently dismanted the LCD screen (removing the backlight) and selotaped it into position. The lamp on the right shines through the LCD screen and this light is then focused by the lens onto a wall.

Here's a picture from another angle...


The camera is a cheap Agfa compact. I set it to slide show mode so it continuously cycled through the images on the card.

As can be seen below the images aren't exactly impressive (and upside down!)


Close up you can see how low resolution the LCD is...


...but as a start for a new project, not too bad.

Monday, 21 February 2011

Welmy 35mm

Think I only bought this 'cos I liked the logo.
Shutter speed ring is jammed and focus ring is loose so this one will be my first Repair Project.


Sunday, 13 February 2011

Magicubes - remember these?...

Just need to get a 126 cartridge sorted and I can take my photography back 25 years!

A post straight from picasa

Singapore


Cool as...

Zorki 4 camera. So cool.

Not so cool is phone camera but at least I've learnt to post from my mobile.


Tuesday, 8 February 2011

A cat

in a box

Some Nonsense to start

I really should keep away from ebay...

Halina Paulette Electric 35 camera + leather case


KODAK INSTAMATIC CAMERA WITH CASE AND ABIT OF FILM


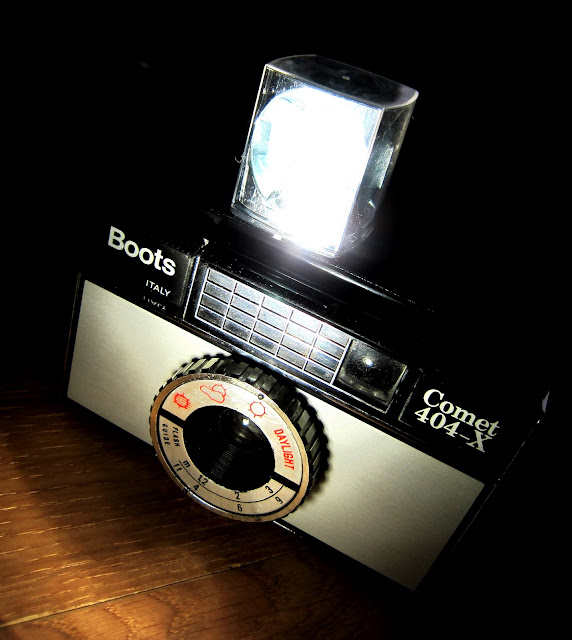
Boots Magicubes Vintage Instamatic Camera Flash


Fujica ST 705 Film Camera


2x cameras~ sony cyber shot (2x lithium battries) AGFA


SONY Cyber-shot DSC-W5 camera needs attention but works


FUJIFILM FinePix S3000 3.2 Megapixel Digital Camera


Sony Cyber-shot DSC-T50 7.2 Mega (SPAREs/REPAIR)


KODAK COLOURSNAP 35 CAMERA WITH KODAK AMASTON LENS


Boots Beirette camera and case.